
I still vividly remember that evening. My four-year-old daughter, Ella, brought her most beloved Montessori wooden shape stacking toy—the little forest animals printed gently on each piece—toward me, her face full of heartbreak. Her favorite owl-shaped wooden block had a clear white scratch along its edge, a “scar” left when it accidentally rolled off the table earlier that day.
“Mom,” she whispered, “the owl is hurt. It’s not pretty anymore.”
I held her close, emotions swirling. On one hand, I felt grateful for her care and attention. On the other hand, the tiny flaw appeared glaring to my perfectionist adult eyes. My first thought, like many parents, was almost instinctive: “Maybe we should put it away, or… buy a new set?”
But at that moment, I paused. Watching her carefully touch the scratch, I suddenly realized: isn’t this a perfect educational opportunity disguised as a “problem”?
In a culture obsessed with the new, the perfect, and the fast replacement, are we unintentionally teaching children that old or damaged things are worthless and should be discarded? The Montessori philosophy holds a core principle in opposition: “Care for the environment.” This goes beyond cleaning—it encompasses respect, maintenance, and repair of the items we use.
Today, I want to share not how to keep Montessori toys perpetually pristine, but how, when they inevitably show signs of time, we can turn a scratch into a silent yet profound lesson in cherishing, responsibility, and cycles of care with our children.
When the First Scratch Appears: Regret or the Beginning of Education?
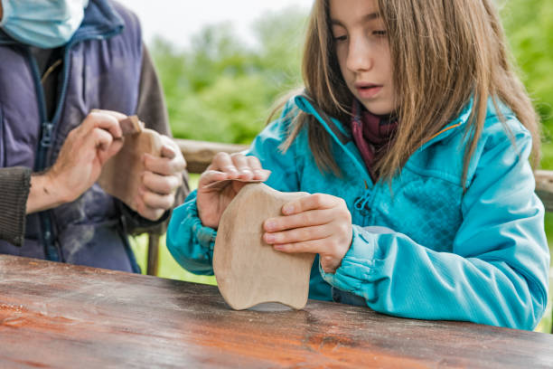
Let’s face it: if your child plays with real, usable toys and not glass-locked exhibits, scratches, wear, and signs of use are inevitable. Especially beloved Montessori toys—the solid wood naturally bears gentle marks from repeated grasping, matching, and stacking.
Children often mirror our reactions. If they see us panic or sigh at a scratch, they learn imperfection is bad and anxiety-worthy. If they see calm curiosity, they learn objects carry stories, and we can treat these stories gently.
The scratch on the owl block is evidence of a “brave adventure” off the table. The worn corner of a cylinder is a medal from hundreds of determined little hands lifting and placing it. These marks signify a toy that has lived and been loved. Whether we see them as flaws or history depends on the perspective we pass to the child.
Montessori’s “Care for the Environment”: Includes the Items We Use
“Help me do it myself.” This Montessori maxim is widely known. But equally important is “Help me care for the environment I’m in.” In a Montessori classroom, children learn not only to operate the materials but also how to maintain them: lifting gently, returning items to their place, and wiping wooden surfaces with a cloth.
This sense of responsibility cultivates global citizenship and sustainable living from an early age. It tells children: you are not just a user of objects—you are their guardian. When items encounter small issues, our first response should be, “How can we care for it?”
Repairing a beloved toy elevates “caring for the environment” from everyday cleaning to a deeper practice of responsibility and repair skills. Children witness that through patience and effort, we can restore life to things and be part of the solution.
DIY Repair Guide: Simple Steps to Revive Toys
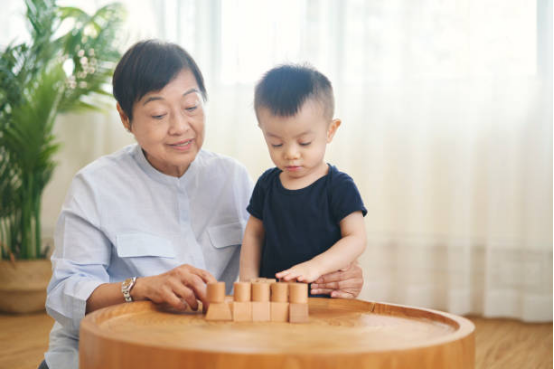
Now, let’s move from philosophy to practice. Repairing common minor damage on wooden Montessori toys doesn’t require carpentry skills. You need safe materials, a bit of time, and a calm mindset.
1. Safety First: Choose Child-Friendly Materials
The most important principle. Any material for toy repair must be non-toxic and child-safe. Avoid chemical varnishes, strong adhesives, or industrial paints.
Best choices: natural mineral oil or beeswax. Traditional treatments for cutting boards and utensils, safe for children, nourish the wood, soften scratches, and provide a gentle protective layer.
Optional: food-grade wood wax oil specifically designed for children’s toys.
Tools: soft cotton cloth, fine sandpaper (optional for very minor sanding).
2. Common Issues: From Scratches to Loose Parts
| Issue | Steps | Outcome |
| Surface scratches & dryness | Apply a small amount of mineral oil or wood wax with a cotton cloth along the wood grain, wait 15-30 minutes, and wipe off the excess. | Scratches become less visible; wood gains a smooth, nourished glow. |
| Light stains | Use a slightly damp cloth with mild soap, wipe, dry immediately, then oil for care. | Removes stains safely without soaking wood. |
| Slightly loose components | Optional: apply minimal food-grade wood glue if accessible; allow 24h curing; otherwise, leave as is. | Restores stability safely. |
Most Valuable Step: Invite Your Child to Participate
Repairing is important, but involving children provides far greater educational value. Do you secretly fix it for a surprise, or invite them as a “toy doctor”?
I chose the latter. I said to Ella, “Our owl friend got a little hurt, but we can help it feel better together. Want to be my assistant?”
Her eyes lit up. Our process:
- Diagnosis: Observe the “injury” together. Ella touched the scratch and said, “It feels rough.”
- Introduce the “medicine”: I showed the mineral oil, calling it “magical food for the wood” that makes it strong and smooth. She smelled it and learned it’s safe.
- Assign responsibility: She passed me the cloth and placed the owl in a “recovery station” after treatment.
- Observe changes: We set a timer, talked about wood needing nourishment like skin, and then wiped it dry. The scratch remained but now became a gentle texture in the warm wood.
- Name and celebrate: We named the scratch on the owl’s “brave stripe” and carefully restacked all shapes with ceremony.
Through participation, Ella learned, “Together with care and patience, we can make things better.” Her bond with the toy deepened through this “rehabilitation” experience.
Common Questions About Montessori Toy Repair
Q: Is it safe for my child if I use oil? Could they get it in their mouth?
A: Use absolutely safe products (food-grade mineral oil or beeswax). Apply carefully, wipe excess until the surface feels smooth and non-greasy, and allow absorption overnight. Safety is high, far better than unknown chemical coatings.
Q: What if the Montessori toy is seriously damaged, like cracked or broken?
A: Safety first. Sharp cracks or broken pieces may require retirement. Minor cracks that can be safely glued with food-grade adhesive and have emotional value can be repaired. The act of repair itself teaches perseverance and cherishing beyond monetary value.
Conclusion: Let the Toy’s Life Story Nourish Your Child’s Heart
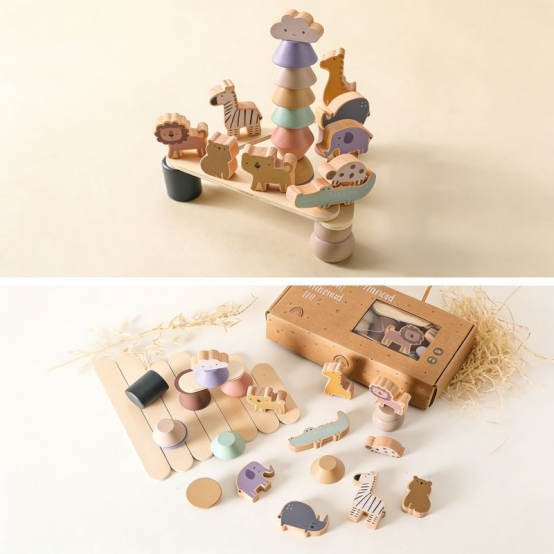
In an era of “use and discard,” repairing Montessori toys with your child is a gentle rebellion. It shapes their consumer mindset and worldview differently.
You teach them:
- Objects have life and dignity and are worthy of respect.
- When problems arise, we can creatively solve them instead of discarding them.
- Imperfection is part of life; it carries memory and can be gently accepted and transformed.
- True value lies in emotional connection and shared stories, not in newness.
When selecting Montessori toys, choose well-crafted, classic natural wooden products that are “worthy of repair.” You invest in toys that grow with your child, hold memories, and can be passed down.
That scratch eventually becomes part of the story. The afternoon spent caring for it together becomes a shared memory—a precious lesson in love, responsibility, and cycles.